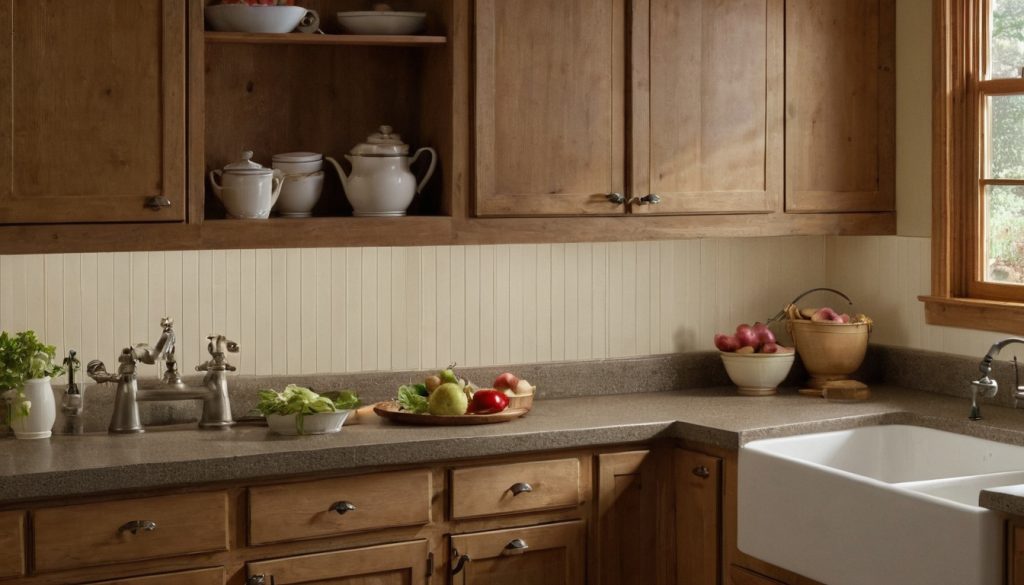
An 18-foot backsplash at 18 inches high covers 27 square feet before subtracting the range opening or adding cutting waste. That figure starts the estimate, but it does not tell you how many panels to buy, whether beadboard is safe behind the range, or what the finished project will cost.
- Suitability: Beadboard works best on sound walls in low-heat areas where the selected panel and finish can tolerate expected splashes and cleaning.
- Range restrictions: Do not assume painted beadboard is acceptable behind a range or cooktop. The exact appliance manual controls that decision.
- Moisture protection: Treat cut edges, penetrations, countertop joints, and sink-adjacent seams as specified by the panel, coating, and sealant manufacturers.
- Price-verification gap: A defensible total needs dated local prices, package coverage, the range-zone material, electrical details, and any demolition or repair allowance. Those figures are not available here, so the ledger leaves the dollar fields open.
Is beadboard practical for an 18-foot farmhouse kitchen backsplash?
A beadboard backsplash is practical when the wall is sound, the panel and coating match the moisture exposure, and the appliance instructions permit the proposed range treatment. It is a poor fit when heat restrictions, standing water, damaged drywall, or difficult electrical work exceed those limits.
Beadboard works best in low-heat kitchen backsplash zones
A good candidate has firm painted or bare drywall, manageable sink splashes, accessible receptacle openings, and exposed edges that can be trimmed or sealed. Check the panel instructions for approved substrates and moisture limits. Check the coating instructions for preparation, required coat count, cleaning, recoat time, and full cure.
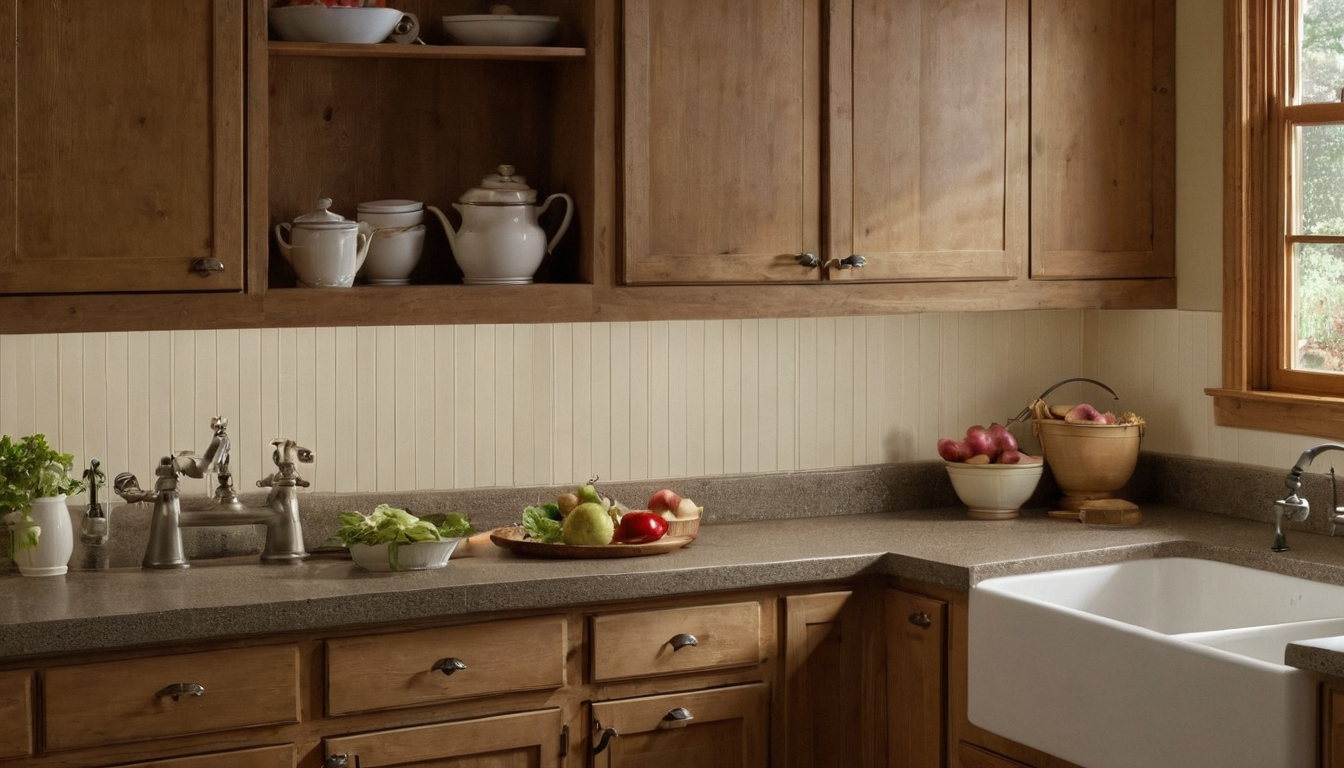
Is beadboard practical for an 18-foot farmhouse kitchen backsplash shown with practical context cues.
Draw the whole run before choosing among kitchen backsplash designs. Mark the sink, range, countertop changes, inside and outside corners, windows, exposed ends, receptacles, switches, and plumbing penetrations. Readers considering other materials can compare wall panels for cleanability, moisture, and repair.
Beadboard is a poor choice where heat, standing water, or damaged walls exceed product limits
Do not cover leaking, soft, swollen, mold-damaged, or persistently damp wallboard. The U.S. Environmental Protection Agency states that moisture control is the key to mold control. Fix the moisture source before enclosing the wall.
Reject beadboard wherever the appliance instructions prohibit the proposed wall finish or the panel and coating instructions exclude the observed conditions. Measure the zones to get the next useful number; the nominal 18-foot length is not enough.
An 18-foot beadboard backsplash estimate starts with measured zones, not nominal wall length
Divide the run into ordinary wall, sink, exposed-edge, receptacle, and range zones for the takeoff. Measure each segment’s length and height because cabinets, corners, countertop changes, and excluded cooking areas can alter both coverage and cut placement.
How many beadboard panels cover an 18-foot kitchen backsplash?
For a level, uninterrupted run, use 18 feet × 1.5 feet = 27 square feet. For an uneven backsplash, calculate each segment separately: segment length × segment height = segment area. Add included areas, then deduct only excluded sections that produce material you can actually reuse.
Divide required area by actual panel coverage and round up to whole purchase units to get the panel count. Actual coverage may differ from the package’s nominal dimensions because tongues, grooves, laps, and factory edges affect usable width. Check the arithmetic against a dimensioned cut layout before ordering.
Account for bead direction, seam placement, damaged edges, defects, and whether an offcut fits another segment when estimating waste. A percentage chosen without a cut plan can leave you short or make you buy an unnecessary package.
Inspect the exposed wall as part of the takeoff. The EPA’s moisture guidance says moldy porous materials may need disposal because mold can enter their open spaces and be difficult or impossible to remove completely. Do not count damaged drywall or fiberboard as a usable substrate.
Outlet cuts, corners, and exposed ends determine the trim takeoff
Mark every receptacle, switch, pipe, corner, window, and exposed end. For trim, measure each cap, scribe, corner, or end condition and round up to the stock lengths actually sold. For sealant, measure the countertop joints, sink-adjacent joints, and panel transitions that the selected installation requires.
An 18-foot beadboard backsplash estimate starts with measured zones, not nominal wall length shown with practical context cues.
With quantities measured, check whether the chosen beadboard belongs in each kitchen zone.
Beadboard material must match the sink, countertop, and range conditions
No single beadboard specification suits every part of a farmhouse kitchen. Ordinary counter runs need a washable finish, sink areas need protected cuts and joints, and cooking areas must follow the listed appliance instructions.
The sink zone needs sealed panel edges and a coating approved for repeated splashes
Sink-zone beadboard is not automatically waterproof. Follow the panel maker’s directions for cut edges, end joints, fastener holes, and penetrations. Confirm that the primer and topcoat suit the substrate, expected cleaning, and incidental splashes. Use a sealant documented as compatible with both the countertop and cured coating.
Is beadboard good for a kitchen backsplash near a sink and range? It can suit a sink-adjacent wall when the identified panel and finish permit that exposure. The range is a separate decision controlled by the appliance instructions.
The range zone follows the appliance manual before any backsplash design preference
Check the exact range or cooktop manual for rear and side clearances, wall-finish restrictions, and any required backguard or trim kit. If the instructions exclude the proposed combustible finish, carry a separate allowance for a documented noncombustible or manufacturer-approved insert. Ask the authority having jurisdiction to resolve unclear local requirements.
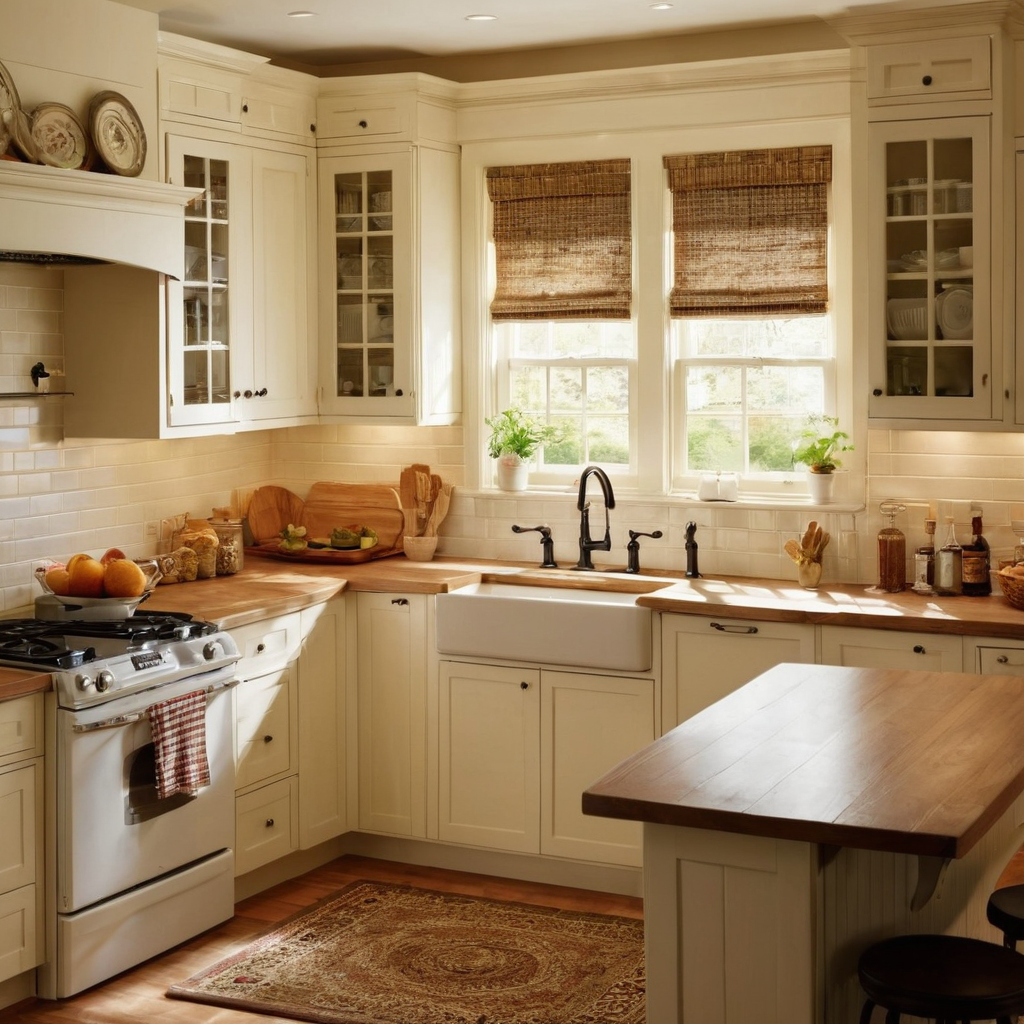
Beadboard material must match the sink, countertop, and range conditions shown as an editorial planning reference.
MDF, plywood, PVC, hardboard, and solid-wood beadboard have different use limits
A material name does not establish suitability. Compare an identified product’s thickness, actual coverage, edge profile, fastening method, finish system, cleaning instructions, and moisture limits before pricing it.
Review the primer, adhesive, and topcoat too. The EPA notes that paints, adhesives, and building materials can emit VOCs. Follow label precautions and increase ventilation when directed, provided ventilation does not conflict with curing conditions or combustion-appliance safety.
Installing beadboard over kitchen drywall requires a dry layout, safe outlet work, and sealed edges
Beadboard can often cover sound, clean drywall when the panel and adhesive manufacturers permit it. The job still requires power isolation, box-depth checks, dry fitting, controlled attachment, and treatment of exposed cuts.
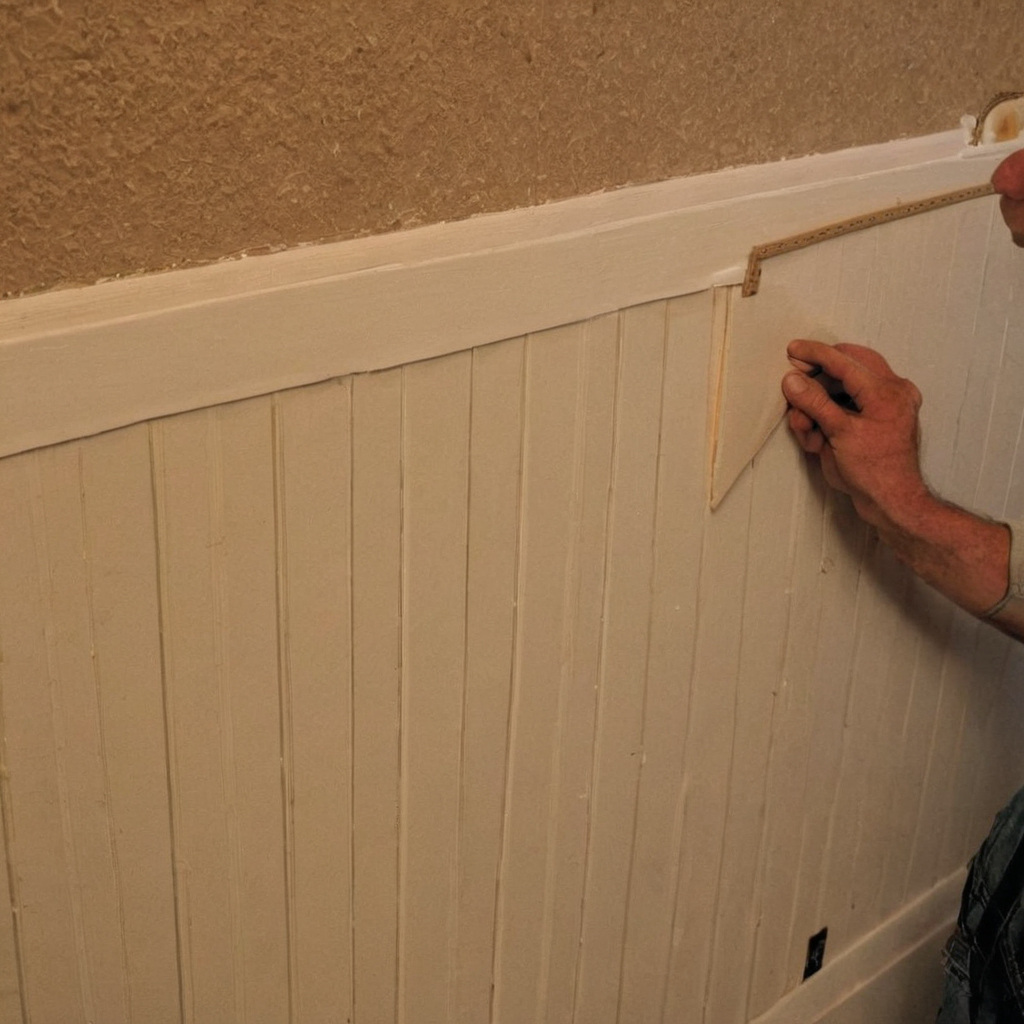
Installing beadboard over kitchen drywall requires a dry layout, safe outlet work, and sealed edges shown with practical context cues.
Can beadboard be installed directly over painted drywall?
Painted drywall must be firmly bonded, reasonably flat, clean, and dry. Remove grease, repair loose paper and dents, and degloss or prime only as the adhesive and panel instructions direct. Confirm compatibility with the existing coating and check the required adhesive bead, open time, working time, coverage, temperature, and cure conditions.
Receptacle openings must preserve box alignment and device safety
Record each box type, present depth, and the combined thickness of the panel and adhesive. De-energize the circuit and verify that it is off before removing covers or working near devices. Locally adopted electrical requirements control box position, listed extensions, device mounting, grounding, and cover plates.
Do electrical boxes need extensions when beadboard adds thickness behind receptacles? They may, but the answer depends on the finished box position and locally adopted requirements. Damaged boxes, short conductors, altered wiring, or circuit changes belong with a qualified electrician.
A reliable beadboard workflow runs from layout to final caulk and cure
- Follow the panel maker’s acclimation instructions, then mark level reference lines, seams, corners, and every opening.
- Dry-fit each piece before applying adhesive. Keep clean factory edges at visible joints where the layout permits.
- Cut receptacle and plumbing openings, test the fit, and seal or prime exposed edges as the finish system requires.
- Apply the specified adhesive and approved corrosion-resistant fasteners at the manufacturer’s stated locations, spacing, gauge, and length.
- Install trim, fill approved fastener holes, caulk specified joints, and apply the required finish coats with their stated drying and cure times.
With the installation method set, count every panel, trim length, cartridge, fastener, finish coat, electrical accessory, and range-zone material in the purchase ledger.
The full 18-foot beadboard backsplash price includes more than panels
The full price includes everything required to turn bare wall into a cured, serviceable backsplash. Without dated local listings and identified products, leave the total blank rather than filling it with a market average.
A line-item cost table shows purchased quantity as well as used quantity
Use the following ledger for each item. Divide quantity needed by package coverage and round up to get quantity purchased. Multiply purchase units by dated unit price to get extended cost.
- Beadboard panels: area used ___; actual coverage per panel or package ___; units purchased ___; unit price ___; extension ___; reusable offcuts ___.
- Edge and corner trim: linear feet used ___; stock length ___; pieces purchased ___; unit price ___; extension ___; leftover lengths ___.
- Adhesive, fasteners, and filler: specified coverage or count ___; packages purchased ___; unit price ___; extension ___; reusable balance ___.
- Primer, topcoat, and sealant: area or joint length ___; required coats ___; containers or cartridges purchased ___; unit price ___; extension ___.
- Electrical and range-zone materials: approved extensions, plates, insert, and boundary trim ___; quantity purchased ___; unit price ___; extension ___.
Add sales tax, delivery, tools, and consumables only when they apply. Do not credit leftovers against this job unless they have a known use and value. You can see another line-by-line paneling cost estimate for the same package-rounding method.
The range insert and finish system can change the budget more than beadboard area
Build low and high scenarios from documented products. Divide verified project cost by 18 feet for total cost per linear foot. Divide it by the included backsplash area for cost per square foot. Keep material costs separate from labor because demolition and wall repair can overturn the apparent savings.
DIY labor, wall preparation, and demolition determine whether beadboard is the lower-cost backsplash
Beadboard is the lower-cost choice only when the wall is usable, demolition is limited, outlet work is ordinary, and the cooking-zone treatment is allowed. Compare completed installations, not bare beadboard panels against finished tile.
Add qualified electrical, drywall, or appliance labor when box conditions, wall damage, wiring, or range work exceeds the planned installation. A hired-labor dollar total requires a documented local quote or another attributable local source.
How hard is it to remove an existing backsplash before installing beadboard? Difficulty depends on the old material, adhesive, substrate, and access. Include countertop protection, debris handling, local disposal, wall repair, tool costs, repair labor, and added schedule time.
An 18-foot beadboard backsplash is worth doing only after four project checks pass
Buy only after the substrate, moisture system, appliance detail, and electrical plan all pass. The verified total must also fit the household’s budget, available time, maintenance tolerance, and expected kitchen use.
- Substrate: Pass if the drywall is sound, dry, suitable for the specified attachment, and free of unresolved leaks or damage. Fail if demolition or repair remains unknown.
- Moisture: Pass if panel edges, sink-zone sealant, primer, topcoat, cleaning, and touch-up procedures follow the selected manufacturers’ instructions. The EPA advises drying suitable wet materials within 24 to 48 hours after a leak or spill. Damaged, contaminated, or persistently wet material may require removal or professional assessment.
- Appliance: Pass only if the exact range or cooktop manual allows the proposed wall finish and detail. Otherwise, price a documented manufacturer-approved range insert.
- Electrical: Pass when the authority having jurisdiction or a qualified electrician confirms the plan for box depth, extensions, device mounting, grounding, cover plates, and existing defects.
Mark each of the four checks pass or fail. Put every open question beside the party responsible for answering it: manufacturer, retailer, electrician, contractor, appliance installer, or local authority. If one check fails, change the material or scope before buying. If all four pass, purchase the rounded quantities from the completed ledger rather than treating 27 square feet as the whole job.